Week 5 - 7 Unreal 3D Animation - Pretty Girl Sneezes

From week 5 - 7, we learned how to create our own 3D characters in Fuse, and export and auto-rig the characters and create animations in Mixamo. We also learned the basics of Unreal Engine, to create a scene, import 3D objects, upload T-pose skeletal mesh and apply multiple animations to the mesh, then create a sequencer for the animations. I teamed up with Yves and our inspiration came from this Joke - A Pretty Woman Sneezes At A Restuarant.

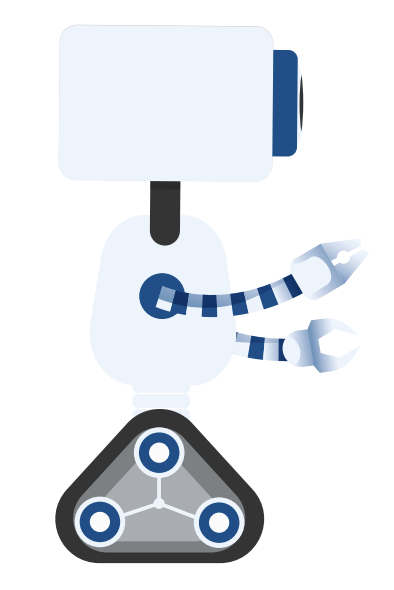
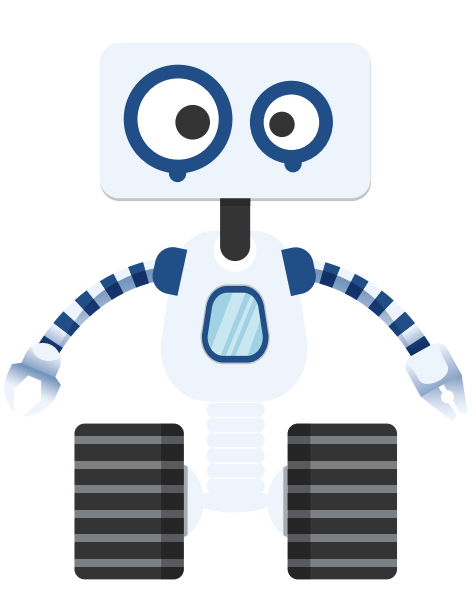
We created a girl and a guy character in Fuse and exported some animations from Mixamo.

In our first version of the animation,  for the girl, we found "sitting yell" from Mixamo which looks similar to sneezing, "sitting disblief" similar to pushing eyeball back to head, and picking up object. For the guy, we had walking and catching. We spent an entire afternoon trying to figure out how to combine two animations of a character smoothly without having him/her jump back to his/her start position of the animation. Exporting the animations from Mixamo with the "in place" option clicked and then manually transform position in unreal would solve the problem. However, a lot of the animations we found do not have that option and we couldn't find any good substitutions for the actions we wanted to use. We followed this tutorial on how to blend animations, and we got something like this.

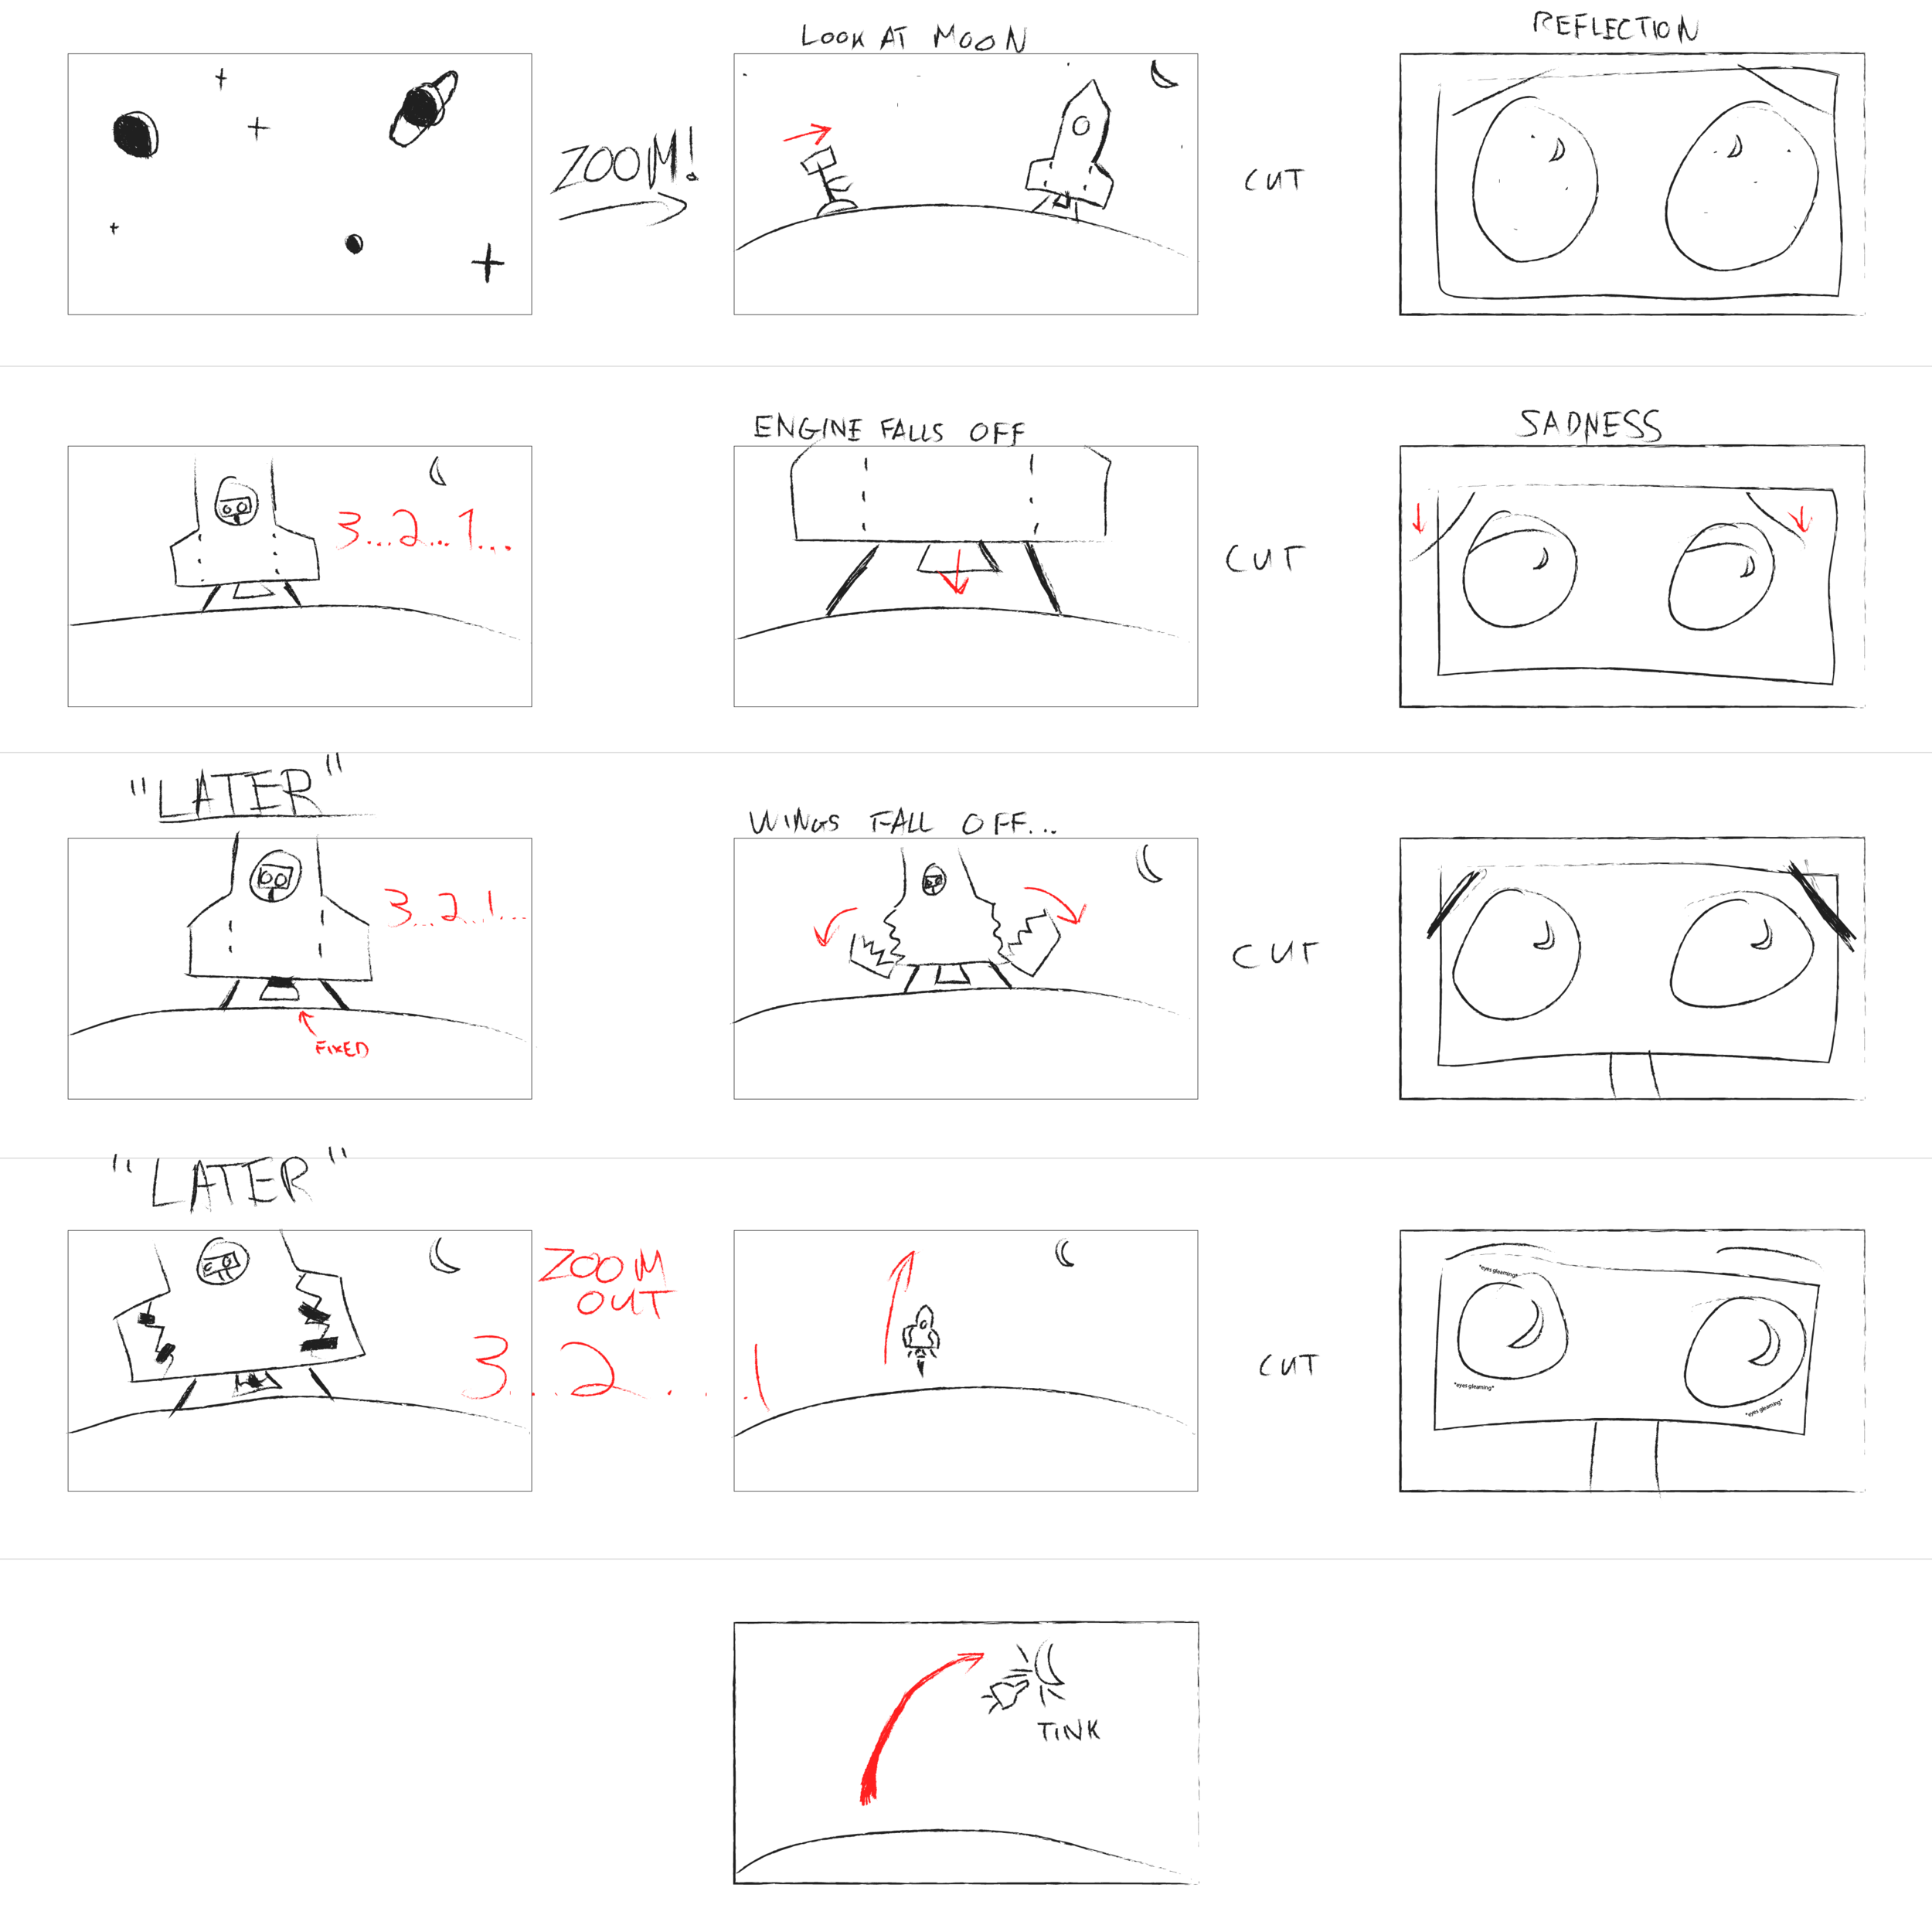
We then decided that instead of having a long shot where viewers can see all the action happening at the same time, we could cut the camera and just focus on one animation of one character/object at once to avoid the issue of blending animations. So we just focused on the girl sneezing and her eyeball shooting out.

Our first scene is camera rotating and zoom in to the face of the girl sneezing. The second scene is a close up of the eyeball flying in the air. And the last scene is the girl struggling while her eyeball is gone, and zoom in to her face, where the eyeball used to be was a dark hole.

Another challenge we had was when we first animated the eyeball, it was shooting out in a straight line, and it did not look realistic. Later I located the curve editor in the sequencer, which is similar to graph editor in After Effects, so I had the eyeball animated following a para-curve.

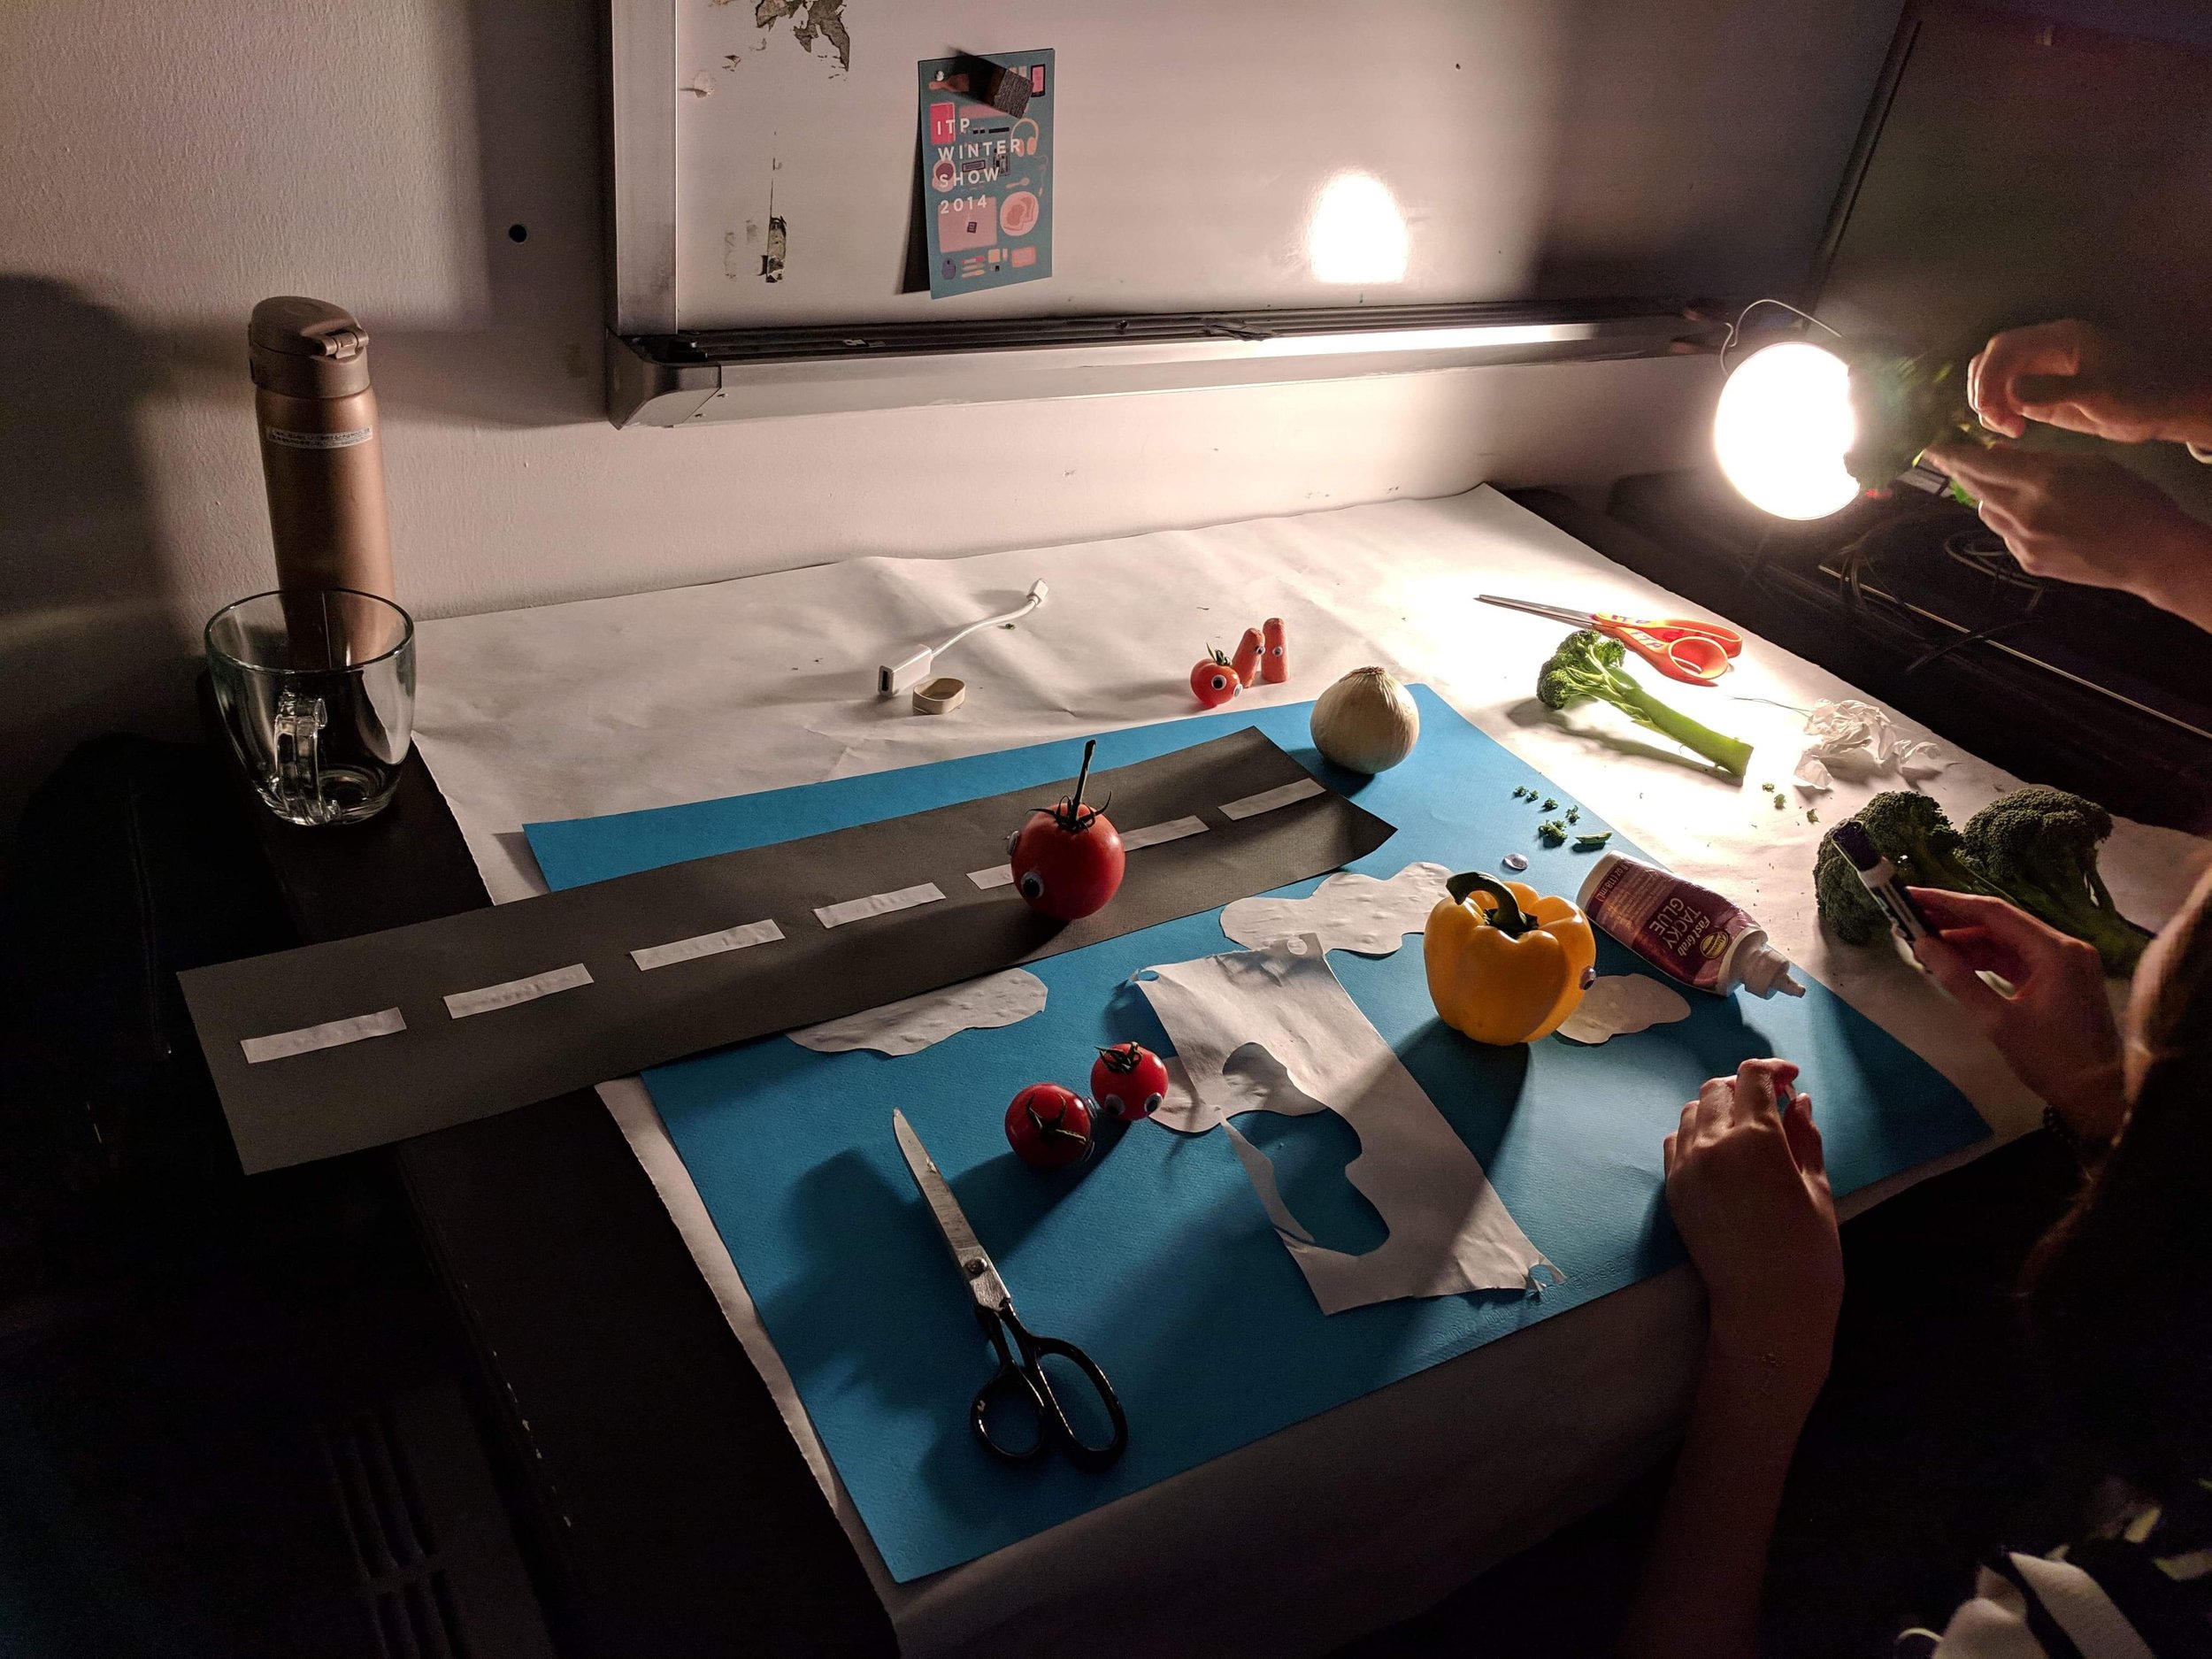
In order to make the girl seem like she lost her eyeball at the end of the animation when she lifts her head up, we figured out we could mask out her eye in Premiere, as we combined the scenes. Under opacity in effects control, we masked the eye contour and motion-tracked the mask as she lifts up her head.

Our final rendering:

Week 2 - 4 After Effects Animation - Robot in Space

For this animation project in After Effects, me, James and Fenfen discussed an idea that James had for the story. It is about a robot wandering on a planet and found an empty spaceship. Looking longingly at the "moon" not far away from the planet, the robot decided to get on the spaceship and embark on a journey to the "moon". The first time the robot attempted to launch the spaceship, the engine fell off. After fixing the engine, the robot attempted to launch it again, but this time the wings fell off. the persistent robot fixed it again and finally, it took off. However as the spaceship approached the "moon", it hit the "moon" and bounced off. The "moon" was just an illusion. James drew a storyboard: Storyboard v001

We discussed what we wanted the robot to look like and Fenfen also created a robot in Illustrator:


I created a spaceship in Illustrator, with the body, engine, flame, and wings in different layers. I split up each wing into two pieces with a rugged line each in its own layer and have patches on top.

Screen Shot 2018-11-28 at 1.42.43 PM

In week 3 and 4 we learned how to import our assets to After Effects as footage and as composition so we can animate individual parts of the assets. Some useful tools I learned are the puppet pin tool to pin the joints of characters to move body parts like arms and legs, as well as following the animation parameters of another object using parent or pick whip. We also learned how to animate objects in 3D space, placing the camera, different types of lights, how to cast shadows and having multiple views from different directions or compositions to see reflected changes while animating. We also talked about how to slowly reveal an object using pen tool, have objects follow the path of a null object, adding a slider effect to a null object to link to different parameters, and adding expressions to parameters with hand-coded values.

My part of the animation was the spaceship launching and failing. During both launch attempts, I added a wiggle expression to the positions of all the spaceship parts, and created a null object with a slider effect, and pick whipped all the wiggle expressions to that slider to key frame the wiggle with slider so as to have all the spaceship layers wiggle for a few seconds. When the engine falls, I tried to simulate the motion of an object free falling and bounce back.  I used the graph editor to animate the y position according to this graph to achieve a realistic falling and bouncing effect in the physical world. I also did something similar for the falling wings composition.

Image result for object falling  bouncing s t graph

While James was working on the intro scene, I also learned that I can create a starry space background and bright glowing planets with a fractal noise effect.

After we put all the animations together, James added a background soundtrack that he composed that matches the pace of the story and we added some sound effects to make the whole animation come alive.

Here is the final render:

https://youtu.be/4mGDK5Js1sY

Week 1 Stop Motion Animation - The Catch up

In week 1 class we talked about a brief history of sequential art and animation and some principles of animation. I loved how devices like Thaumatropes, Phenakistoscope, and Zoetrope generate moving images back in the days and create the illusion of characters coming to life. And those principles of animation were really helpful for me to understand how to animate characters and objects in a way that they look less mechanic and more lively based on real-world physical rules and achieve certain effects that can only be seen in animations through exaggeration. The prompt of this week's assignment is to tell a short story in 30 seconds or less with stop motion, which made me think about what kind of story can be told within 30 seconds of time. I instantly thought about jokes, especially really bad jokes that are easy to grasp. I had a whole database of bad fruits and vegetable jokes in my head I used to walk around and tell people, so I shared this tomato joke with my group, and we all loved it, so we decided to shoot a stop motion with real vegetables as the characters in the joke.

Before shooting, we collected all the materials: color paper for setting street and sky, a variety of vegetables, some plastic eye pieces to stick on the vegetables.


Following the demonstration of how to use Dragon frame and camera in class, we set up all the hardwares(1 Cannon 5D Mark III camera with tripod, 3 lights pointing at different directions), and softwares(1 production laptop with dragon frame).

IMG_8294

During shooting, we learned switching between the capture mode and video mode, doing focus check everytime we switch to a new shot. We chose large fine jpg files for our photos, took 2 pictures per frame, and exported the video in H.264 codec at frame rate of 23.97 and aspect ratio of 1620 × 1080. We edited the raw Dragon Frame export file in Premiere to adjust the duration of each shot and applied some background music to it. Finally we recorded our own voice for the characters and distorted it using the pitch shifter audio effect in Premiere.

One problem we encountered during shooting was that it was evening so there wasn't any natural light in the room so we had to borrow a lot of lights to project on our scene. We fixed one light on a tripod, and the other two were clipped on the chairs. We noticed that however we positioned the lights there were always some weird shadows being projected onto the sky backdrop, which is not supposed to happen in real life. So we were just holding the lights during shooting, which probably wasn't a good idea for stop motion because the shadows would just be moving around as the hands holding the lights are not stable during the shot. However, it turned out that the shadows just made it seem like there was some breeze and trees were moving along. Given the time constraint, we just settled with it. We were also having some trouble manually adjusting the white balance in the beginning, so the picture color came out a bit warmer than expected.

Our final video:

https://youtu.be/ne7z2TUaghY